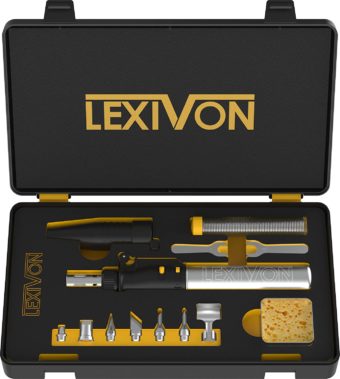
Pruning Shears is a perfectly crafted garden tool that is scissors-like. This kind of garden tool is designed with its two short blades capable of cutting stems of plants. Pruning shears are stronger for cutting shrubs and trees’ branches that are hard. With this garden tool, you will be able to prune branches with a thickness of two centimeters.
When you are working with pruning shears that are dull and rusty then you will be tired quickly. Sharp shear will make your working life easier and you will complete your work very fast. When you want to go for pruning, make sure your tool is sharp enough to handle those hard branches. To sharpen pruning shears is easier and when you have a diamond hand file that is coarse then you can manage it at home. All you are supposed to do is to make sure you clean it properly, remove any rust, and lastly sharpen the shear’s cutting blades. Before keeping it coat it with oil.
In this article, we are going to tackle detailed information about pruning shears sharpening. We will discuss a step-by-step procedure to follow. Therefore, for you to be in a position to do it alone keep reading this article to the end.
Steps to Follow While Sharpen Pruning Shears?
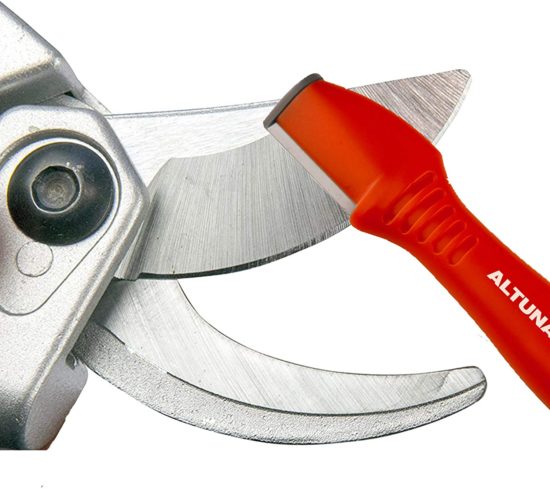
1. Keep yourself protected
- Wear gloves
It is necessary to protect your hands properly every time you are dealing with pruning shears whether cleaning or sharpening. In that case, you need to wear heavy-duty protective gloves. Always consider a pair of gardening gloves that are made of thick leather.
- Wear safety glasses
It is important to ensure your eyes are well protected anytime you want to sharpen your pruning shears. You can manage this situation by wearing protective eyewear such as goggles. This will protect you from metal shards or some rust which can injure your eyes.
If in any case, you get injured make sure you seek medical attention. This is a result of the dangerous activities of cleaning as well as pruning shear sharpening. If you cut yourself accidentally in the process of cleaning then go for medical treatment immediately.
2. Shear cleaning
Scrub the pruning blades with water. In this step make sure you use warm soapy water for scrubbing it. This is the first thing that you need to do, cleaning your shear. With a container having warm water and dish soap of about two to three teaspoons. Scrub the blades properly with a brush dipped into the water.
Make sure each blade is rinsed thoroughly. This step is to ensure any scrubbed debris and soap is eliminated from the shear blades completely. Always use cool water that is clean to ensure the two blades are thoroughly rinsed. Repeat this until there is no soap left on the blades.
Pruning blades drying. To do this drying process use a dry cloth that is thick enough like a towel. Make sure the bottom blade is well dried. Do this carefully to avoid cutting yourself.
3. Rust removal
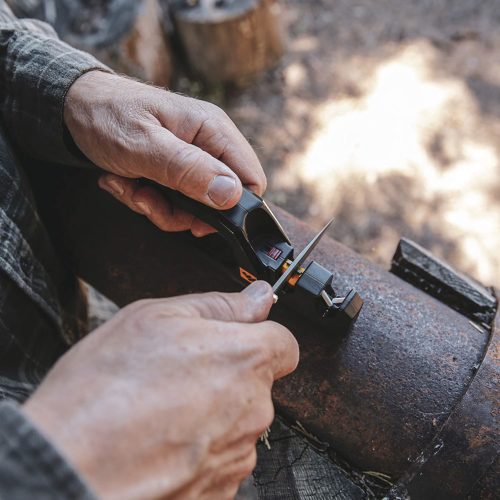
You need to buff off any remaining rust on the surfaces of the blade. You are supposed to examine each of the pruning blades for rust immediately after drying. Then, you will find rust appearing on the blades of the shears which is very important to remove before sharpening.
Here, take a ball of coarse steel wool that is medium-sized and carefully remove the rust. Scrub all tough remaining matter with the coarse piece. Then with the finer piece use it to restore the shear’s metal sheen. Once you are done with the buffing process rinse each blade again. Lastly, use a towel to dry them.
4. Shear blades sharpening
You need to have a bench vise that will assist you in securing your shears. If you have it the better, otherwise you can find an alternative to make your sharpening process easier and simpler. With a wide-open pruner, ensure its beveled cutting blade edge is always facing you. With that ensure it’s secured.
File positioning. To sharpen the pruner perfectly use a diamond hand file that is either coarse or medium. Always make sure you have positioned your file against the blades cutting edge. It’s critical to check that the bevel and the file are at similar angle positioning and maintain that angle in the process.
Starting with a single smooth stroke, ensure you draw the hand file along the pruning blade contour. Always make blade base to tip smooth stroke file movement. This direction should be away from you whichever the case. Consider the use of moderate pressure in the process. Your file is supposed to be maintained at a similar angle throughout the stroke.
Notable
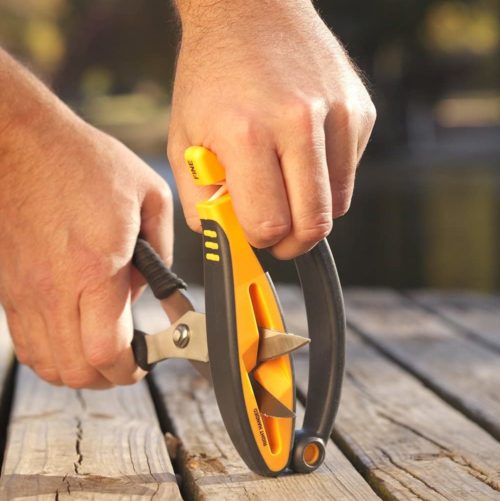
While sharpening the pruner blades, ensure you file them up to a point where you attain sharp edges. This is manageable if you maintain single and smooth strokes to the end. In this case, you will be required to make about ten or rather twenty strokes maximum. All this will take several minutes to achieve your desired filing results. The sharpening procedure will differ slightly depending on the gardening tool you have or the type of shear. An anvil-style pruner will require you to file the cutting blades that are beveled. However, this procedure will work perfectly for all pruning shears kinds.
File off burrs. Once you are done sharpening always check the blade’s backside and file off burrs. All the accrued blade backside burrs need to be removed. To achieve this, just make a few strokes when the pruner over and backside is the file.
5. Lubricating the shear blades.
Finish your process by using a silicone-based lubricant or linseed oil to wipe the blades. This is a safe way to prevent the blades from oxidation and rust. The oil will repel any water. You can apply the lubricant with a cloth piece. Then store your pruning shears properly for the next use.
Conclusion
Always keep your pruner sharpened to make your work easier. This should also be the case with any cutting tool that you possess. Sharpening your tools allows you to use minimal efforts and thus less fatigue is experienced.
References
https://www.wikihow.com/Sharpen-Pruning-Shears
https://extension.unh.edu/blog/how-clean-and-sharpen-your-pruners

